EXPLORER BEACON

Wired or Auxiliary Outlet, Active, No Gateway

SETUP INSTRUCTIONS

Step 1 - Connect Battery

The battery should be fixed to the upper half of the housing. Do not move it. The battery plug is a three-way connector on the top of the PCB.

  1. Insert the battery plug into the connector. It should only be possible in one orientation.

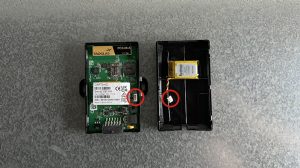
  2. The LED on the board will light up and flash if the battery has sufficient charge. Batteries are supplied fully.

    Note: If the battery arrives uncharged, it will recharge itself once connected.

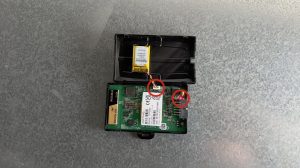
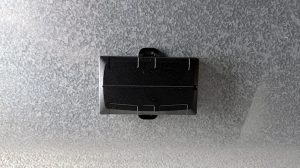
  3. Attach the upper half of the housing to the bottom securely.

Step 2 - Determine location

The Explorer beacon will need to be placed in a location where it will not be tampered with and is relatively safe from the outside elements (rain, heat, snow, etc.). Typical locations are under the dashboard or in the headliner.

  • We recommend wiring the beacon to a fuse box. Keep this in mind when choosing a location. Wire length from the beacon can be extended if needed.

  • We do not recommend putting the beacon in any external location such as the engine compartment.

  • Make note of the location. You may need to find it in the future. We recommend in the Notes section for the beacon for future reference.

Step 3 - Wiring Beacon

Once the location is determined you will need to wire the beacon to the fuse box. You will need a power source that is always powered (Red Wire), a source that is connected to ignition power (White Wire) and a ground (Black Wire).

We recommend using a Blade Fuse Tap to connect powered wires to the fuse box with a female connector on the wire from the beacon.  Ground wires can generally be attached to any bare metal in the vehicle.